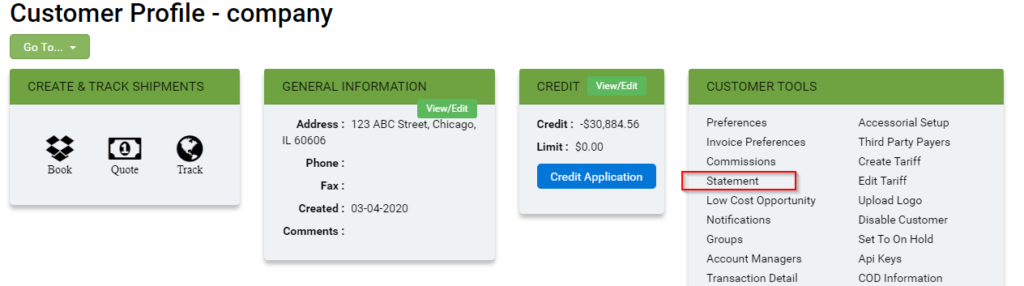
From the Customer Profile, go to Customer Tools, click on Statement.
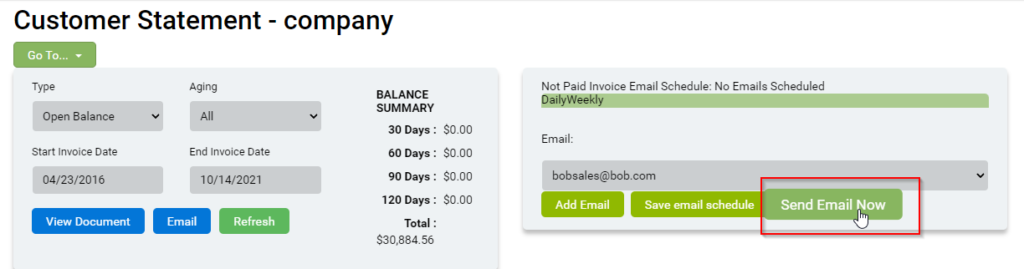
In the statement screen, you can select an email (from their contacts) in the dropdown menu and send a statement from this button.
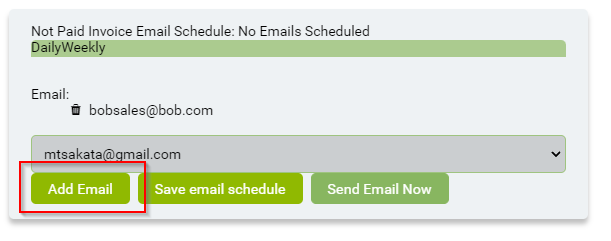
You can also add additional contacts before sending the statement out by selecting another email from the dropdown menu and clicking “Add Email”.
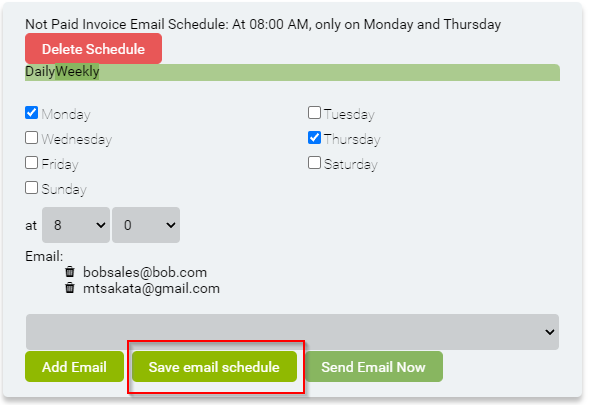
Scheduling Statements
You can schedule to automatically send the customer statements on a daily or weekly basis
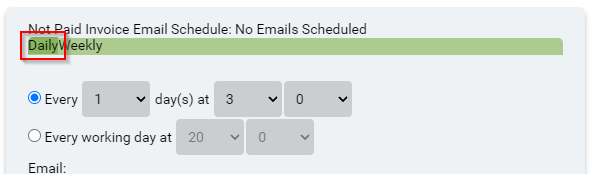
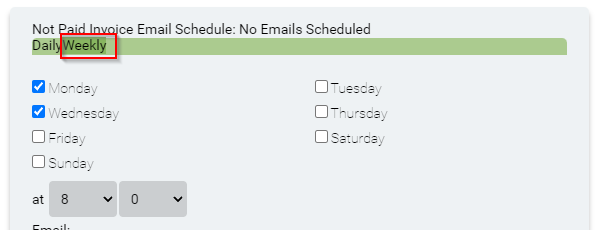
Once you select the schedule, follow the above steps to Add Email(s) to this schedule, once you add the emails, click on Save email schedule.