From the Customer Profile, go to Customer Tools, click on Statement.

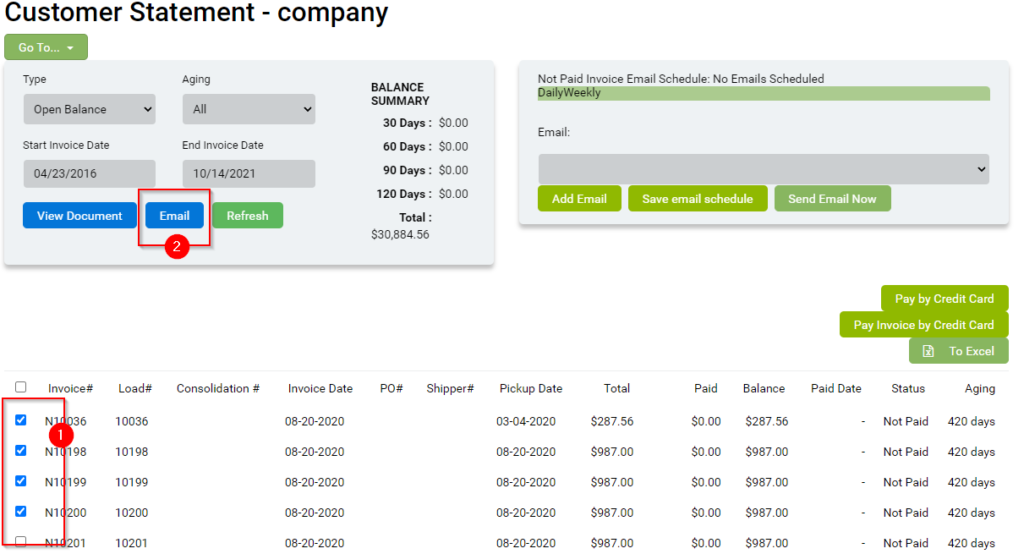
In the statement screen, you can select invoices to email along with the statement, check off the invoices you wish to email, and click Email.
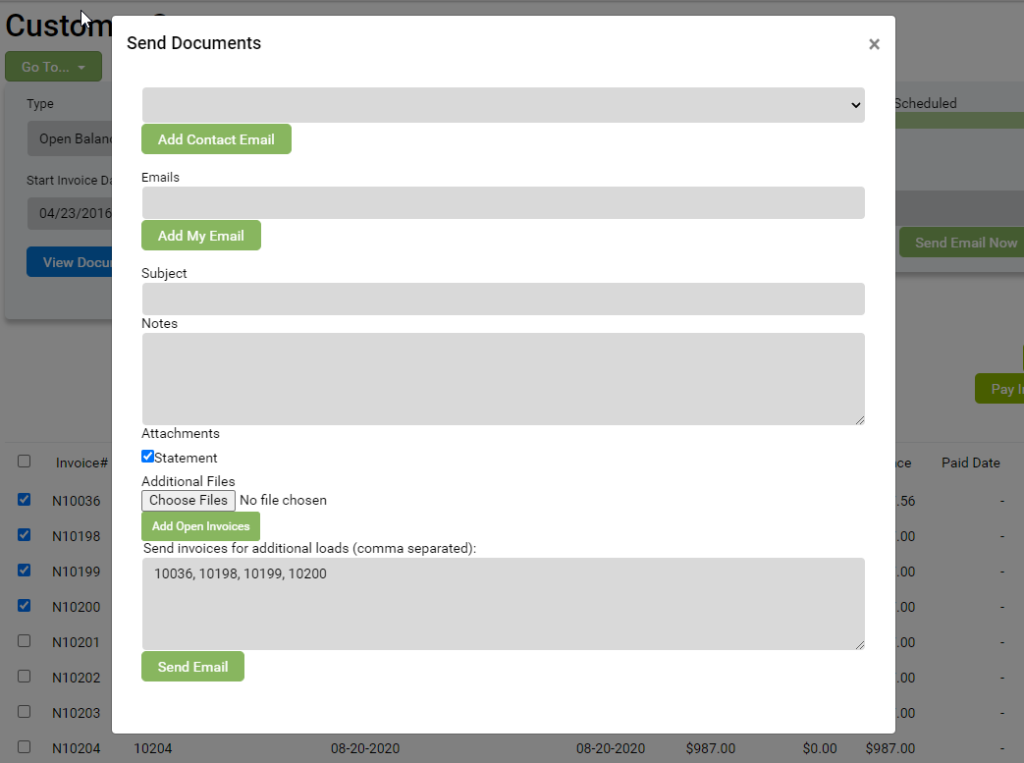
Next the “Send Documents” screen will pop-up. Here you can add emails from the dropdown, type a new email, or add your own email. Make sure there is an e-mail address in the “Emails” field prior to sending.
Enter a Subject and add any Notes you wish to add.
Make sure any additional attachments you want to send are checked off, in this case we want the statement checked.
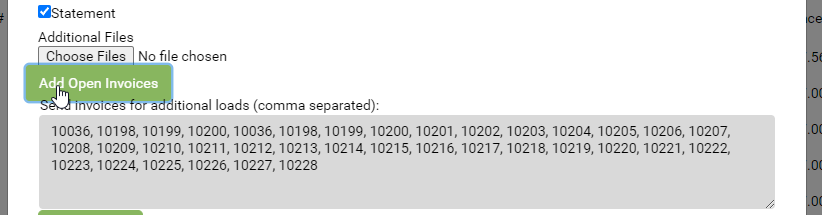
Additionally you can click on “Add Open Invoices” and the system will add ALL open invoices for this customer.
Click on “Send Email” once all fields are completed.
