In some cases where the carrier of a load sends over two separate invoice numbers for billing purposes, you’ll want to use the function called Billing & View since the PRO field on shipment profiles are limited to one (1) reference.
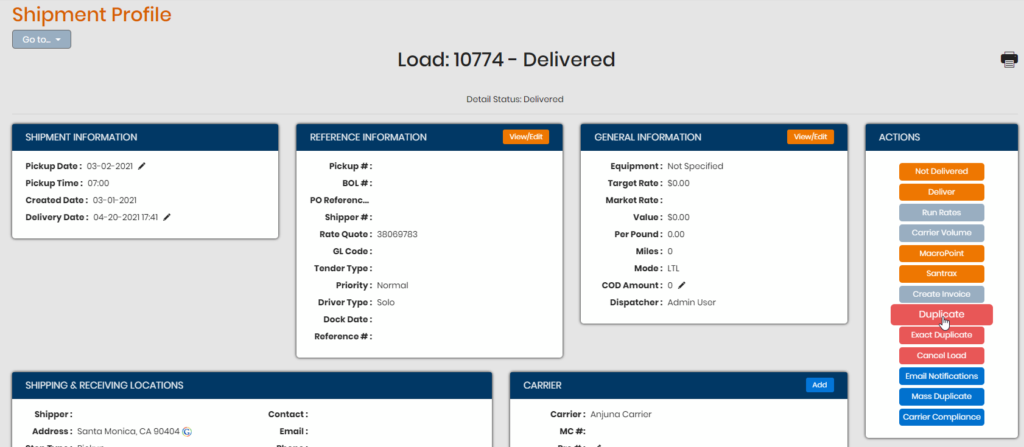
To start, duplicate the original load – this will take you back to the Book Form. You’ll treat this ‘new load’ as the reference point for just the AP charges relating to the second invoice number from the same carrier. You can still use the original load for any related customer charges.

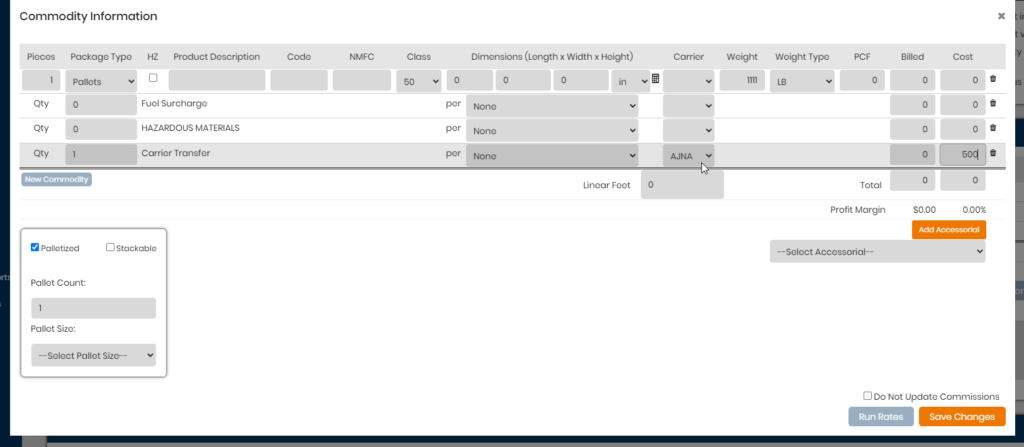
Make any reference adjustments and/or commodity changes as needed i.e. add the service charge(s) the carrier is noting for their second bill or you can do this after the load is created. Scroll down to the bottom of the Book Form page and choose Billing & View.

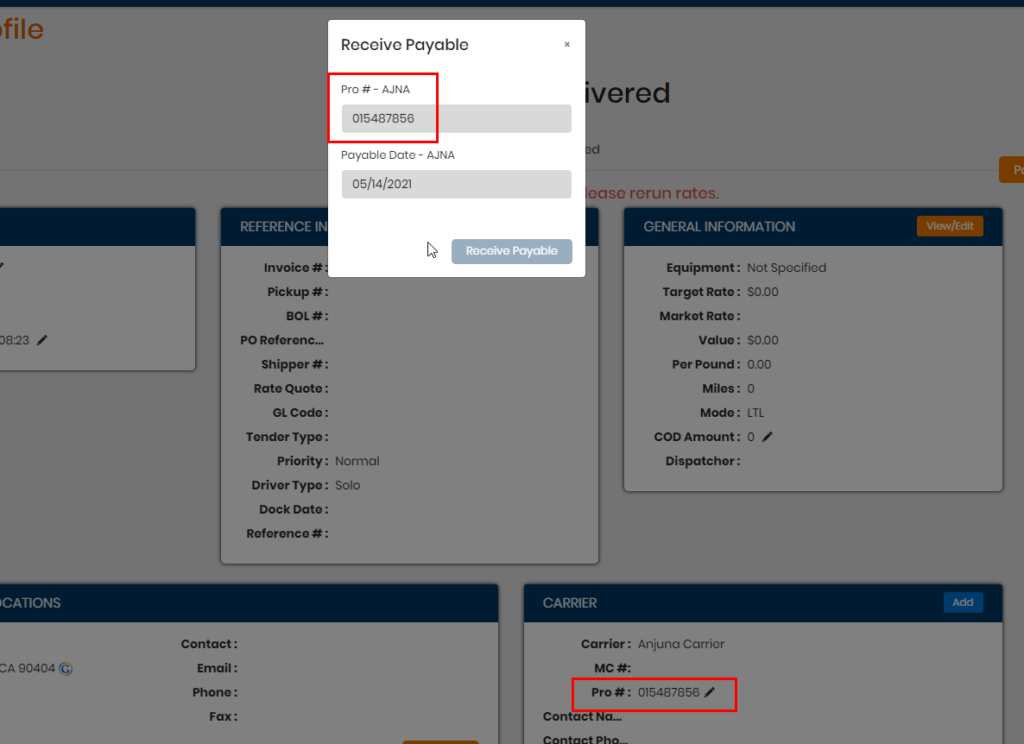
On the next page, select the same carrier used on the original load. Enter the NEW PRO number here and click Save as Delivered – what this does is it allows the user to skip the steps involved to get a load to in transit/delivered status because it’s not a live load – this is a load being used to handle the second PRO number given to a brokerage for the same carrier.

Once the new load is created, make sure you put in any/all adjustments for the carrier’s charge related to the second PRO. You can see in the screen shot that the customer charges and most carrier charges are left as $0; the only ones we want to ensure have the proper amounts are the adjusted carrier costs associated with the second PRO.

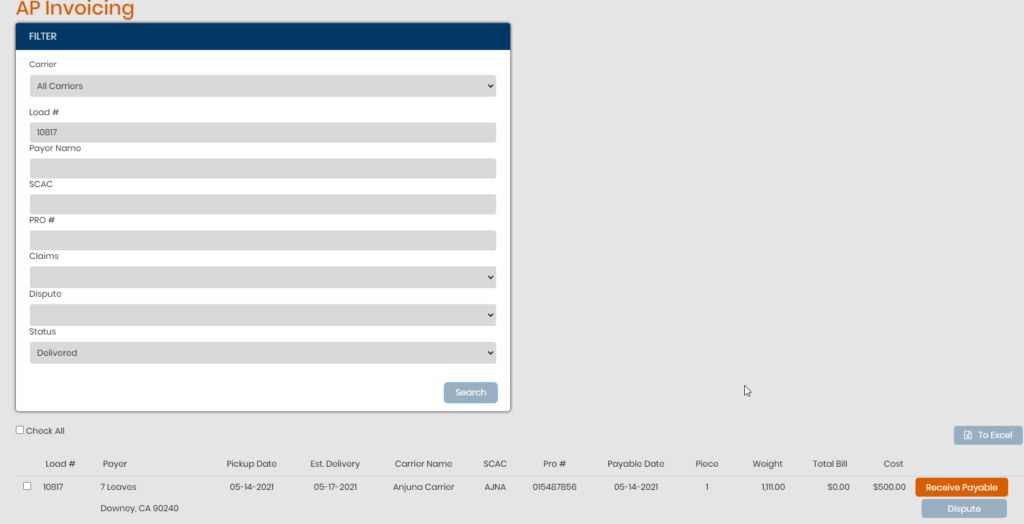
You will need to create the customer’s invoice on the load (even at $0) in order to receive the payable for this carrier and its charges. You can do so from the shipment profile page directly or from the AP invoicing page searching for the new load you created.


